A challenging restorative procedure, delivered comfortably, easily and affordably
Featured Products Promotional FeaturesPosted by: Dental Design 27th January 2022
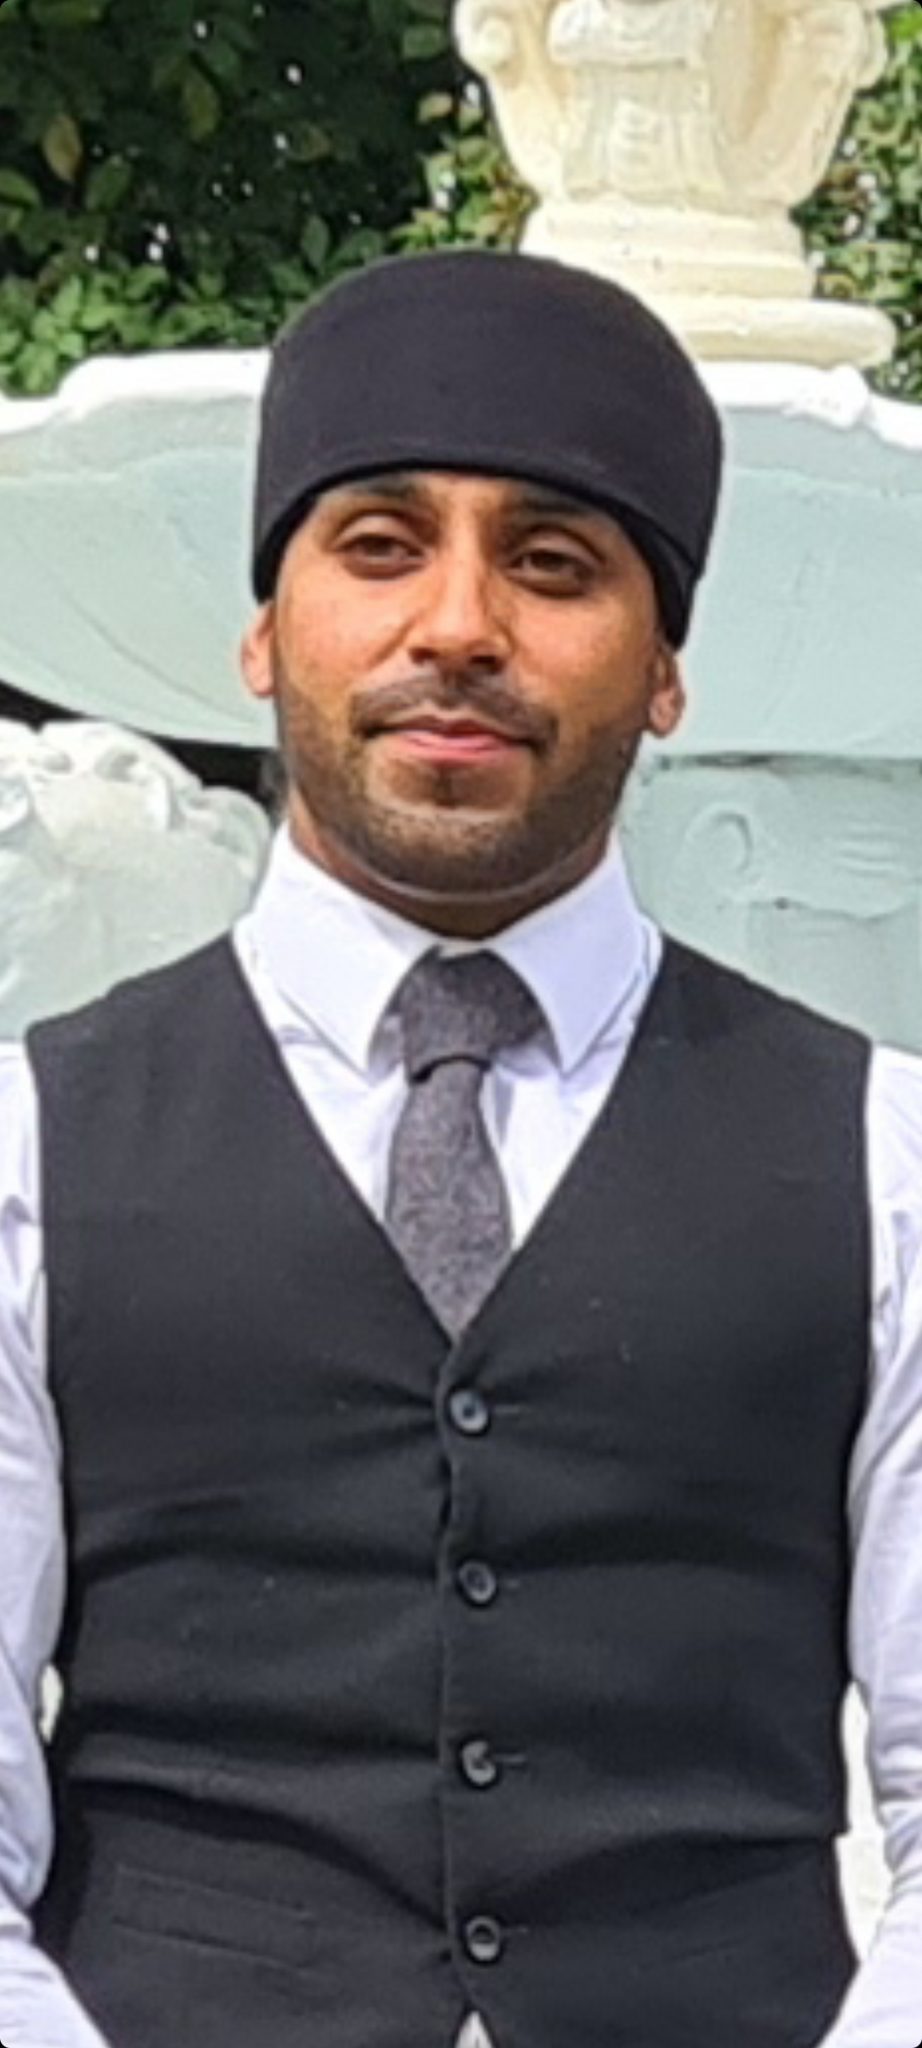
Sandeep Singh (Dr Sunny) graduated from Barts and The London School of Medicine and Dentistry while also serving in the Army Reserves with the University of London Officers’ Training Corps. He has a keen interest in direct restorative dentistry and is a trainer for the Greater Curve restorative system. Dr Sunny is also an associate at TeethByTeki a leading Invisalign® and cosmetic bonding practice. See more of his work and learn more about Greater Curve on Instagram @smilesbysunny
Background: patient’s medical and dental history
The patient attended the practice for a broken tooth after losing a filling. The tooth was sharp and cutting her tongue. She did not report any major pain aside from irritation of her tongue. She was medically fit and healthy, but an irregular attender. She was a smoker, drank wine with meals and coffee during the day.
Initial tests, checks and assessment
The tooth in question was the LL5. There was a lost filling and the tooth had fractured (FIG 1). There was also gutta percha on show from an existing root canal treatment. The tooth was not tender to percussion, nor tender in the sulcus and the only pain was elicited when the broken buccal portion was moved. On the first visit, the fractured portion was removed to assess restorability and temporised. A periapical radiograph was taken (FIG 2), which showed no periapical pathology associated with the LL5, however periapical radiolucencies were seen on the LL6 and LL7.
Collaborating with my patient to create a treatment plan
My diagnosis was a fractured tooth/compromised root canal treatment with guarded prognosis.
We discussed a root canal retreatment (re-rct) and either:
- Post and core crown or direct composite build-up (composite crown) or
- extraction and dental implant/denture
I informed her that a full examination to assess the rest of the mouth would be advised before deciding.
The patient was a busy university lecturer and really wanted to address this single issue of a fractured tooth first. She did not want to have a re-rct. I explained it would not be advisable to have the post and core crown done without the retreatment. Her priority was restoring this tooth at least for the interim so she could have time to think through her options and plan financially. She did not want a re-rct as the tooth was not painful, only the sharp edge and broken piece when it moved.
I explained a direct composite build-up (composite crown) would satisfy her criteria. It would mean:
- Re-rct could be done relatively easily through the composite, should symptoms arise in future, and the restoration would be easy to repair with COLTENE’s BRILLIANT EverGlow™ composite and One Coat 7 Universal bonding agent (includes silane).
- Opposing teeth would not over-erupt.
- Neighbouring teeth would not tilt; therefore, the composite restoration would be a space maintainer.
- Without removal of the tooth, the bone would be preserved for future implant treatment when required.
- Treatment would be done in a single visit.
- Treatment would be cost effective.
She selected a composite crown without re-rct after understanding the pros, cons and implications of each choice.
Treatment pathway
Under local anaesthetic, the broken piece of tooth was removed. Resin-modified glass ionomer cement (RMGIC) was placed as a temporary.
The patient returned for the placement of the composite crown and the temporary was removed (FIGS 3,4,5). LA was given. A split dam from the LL4 to LL6 was applied, with a clamp on LL6 and floss used to secure the rubber dam sheet between the LL3 and LL4 (full isolation was not required in this technique, as you will read further down). The site was now ready to work on.
RMGIC was removed with a fast handpiece. The internal angles were rounded off, so no sharp edges remained, 3mm of exposed gutta percha was also removed. Air abrasion (aluminium oxide) was used to clean and prepare the remaining tooth surface for bonding. The debris was washed away.
The Greater Curve matrix with a standard stainless-steel band was applied and secured to the tooth, which was then etched and dried. Bond was then applied, BRILLIANT EverGlow™ composite shade A1/B1 was used (the patient wanted a lighter shade as she wanted to whiten her teeth in future; A2/B2 blends beautifully posteriorly for the majority of cases in my experience). BRILLIANT EverGlow™ Flow was then applied very minimally where the tooth and matrix met and only to ensure a 100% seal. The composite was then placed into the root space where the gutta percha had been removed to create a “post”, although it is more like a stump rather than a thin pointed post.The walls of the tooth were then built up. Critically, the remaining lingual tooth needed to have composite wrapped around it externally. Therefore, the remaining tooth with the built- up stump ended up inside the restoration acting as a large post/core. The occlusal layer was placed, and morphology shaped.
The tofflemire retainer was loosened and removed, then the band. An oxygen inhibition layer was applied, and a final cure was performed. Cut back, polishing, and occlusal adjustments were made (FIGS 6,7,8), contact points were assessed with floss. The combination of BRILLIANT EverGlow™ and the Greater Curve technique means anatomically correct contact points every time.
Clinical and patient outcome
The patient had her tooth restored from start to finish in under 75 minutes comfortably, easily and affordably compared to the other options. She emailed me later that evening: Dear Sunny, just to say, thank you for everything today. It was a challenging procedure, but I am feeling OK now and the tooth looks fab! Thanks for your hard work, I really appreciate it.
She returned for a hygiene visit 16 months later and the dental hygienist took pictures with an intra oral camera as part of her protocol (FIG 9). As you can see, the tooth was stained but intact with no chips or fractures of the BRILLIANT EverGlow™ composite. Nearly two years’ later, I can confirm after speaking with the patient that the tooth is still present, asymptomatic, and functional.
Using COLTENE’s BRILLIANT EverGlow™ and the Greater Curve technique, I routinely undertake challenging restorative procedures that with conventional methods may not serve our patients to the best of our abilities. I do not promise the world, but simply a restoration to maintain function, preservation of the site and surrounding teeth, as well as time to prepare for future treatment. In my experience many of these “interim” restorations when done with BRILLIANT EverGlow™ and Greater Curve simply keep on going. The combination of fantastic circumferential isolation from the band and a strong, easy to handle composite means happy patients for us all.
For more on COLTENE, visit www.coltene.com,
email info.uk@coltene.com or call 0800 254 5115.
Images

Fig 1

Fig 2

Fig 3

Fig 4

Fig 5

Fig 6

Fig 7

Fig 8

Fig 9