Comprehensive treatment to transform a smile
Featured Products Promotional FeaturesPosted by: Dental Design 16th July 2022
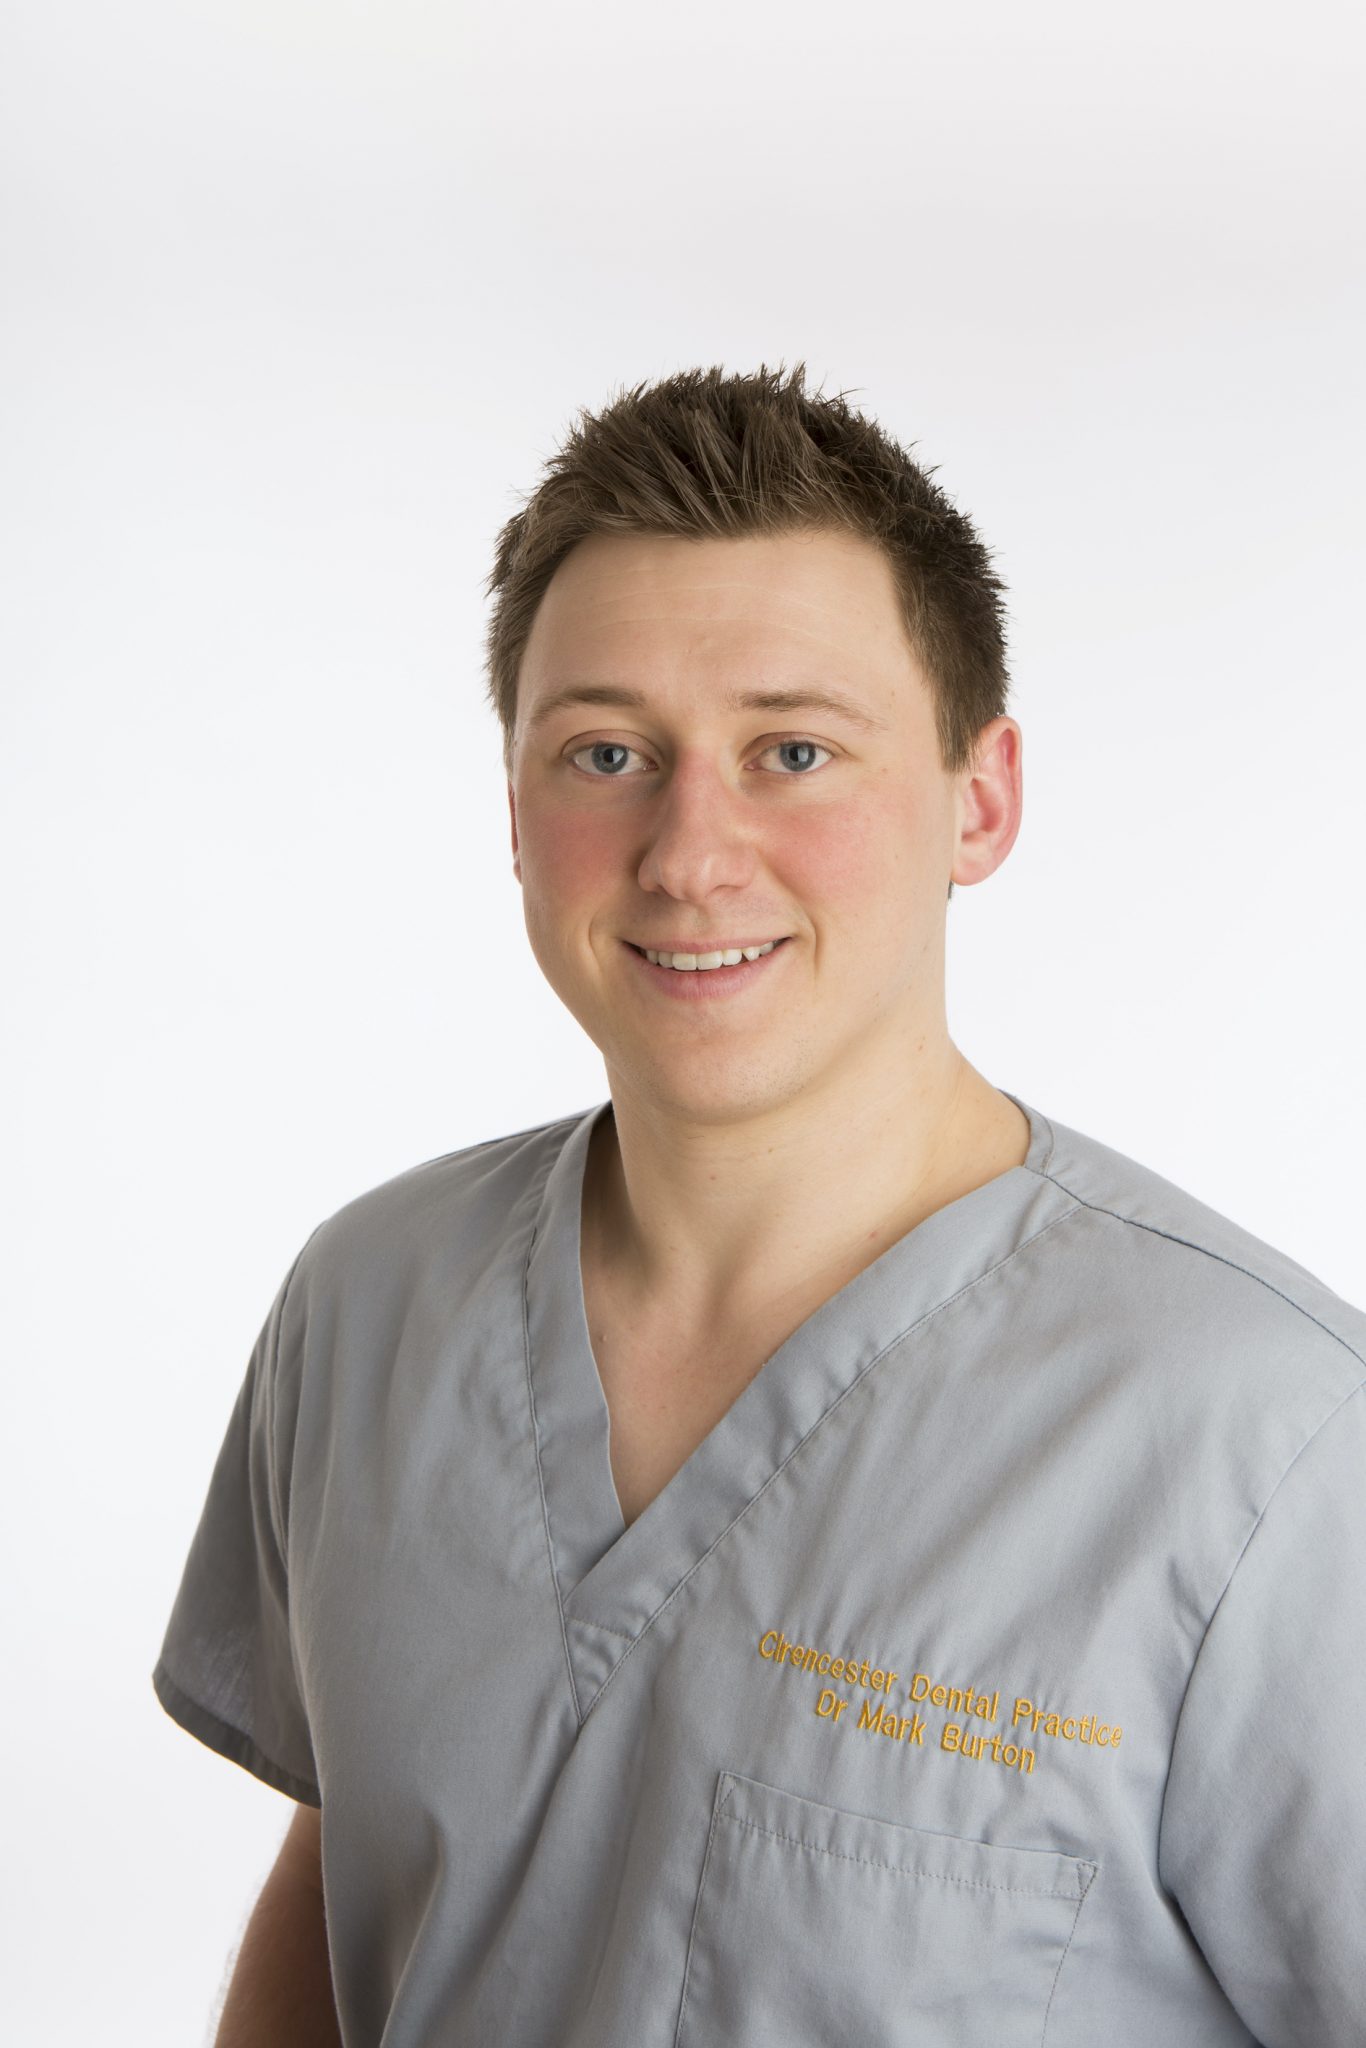
Dr Mark Burton presents a comprehensive case that required a multi-disciplinary approach to deliver the best outcome in the least invasive way.
A 25-year-old male patient was initially referred by his general dental practitioner (GDP) with a displaced and endodontically-treated UL1, as well as an UL2 with periapical lesions and external root resorption of poor prognosis following trauma in his adolescence.
The UL1 and UL2 had been removed by his GDP and an immediate partial denture provided as a temporary solution. Due to the crowding of the lower anterior teeth, the denture teeth had to be positioned a little forward in the UR1 and UL2 sites in a similar position to the original teeth.
A medical history check and comprehensive clinical assessment were conducted upon referral. The patient displayed relatively good oral hygiene and was generally fit and healthy.
A treatment plan was devised based on:
- Placement of a dental implant in the UL1 site, with the intention of replacing the UL1 and UL2 with a cantilever bridge.
- Lower arch ClearCorrect® aligner treatment to align the anterior teeth, using interproximal reduction (IPR), as well as premolar and canine expansion and de-rotation to create space to allow for retraction and alignment of the LL1. This would allow placement of an implant bridge in a Class I, well-aligned position.
- Placement of a laboratory-made provisional bridge during completion of orthodontic treatment. This would limit the patient’s time of denture wear, allowing for development of the soft tissues and emergence profile around the implant and pontic sites, with the plan to replicate the final shape for the definitive prosthesis.
- Using ClearCorrect® aligners together with a tooth whitening tray in the upper arch for tooth whitening prior to construction of the UL1,2 definitive bridge.
All potential treatment options were discussed with the patient in detail, including implant placement and restoration, aligner treatment and retention, and tooth whitening procedures. We covered all the benefits, limitations and risks of each, before the patient chose his preferred solution and gave informed consent.
Lower arch alignment
Intraoral scans were taken using the 3Shape Trios and uploaded to the ClearCorrect® Doctor Portal. The returned 3D treatment set-up included a treatment simulation that was ideal for communicating with the patient to show predicted results he could expect. In many cases, I find this helps to increase treatment acceptance. The treatment set-up suggested that 20 aligners would be required for the lower arch, with engagers and Interproximal reduction (IPR) indicated to de-rotate the premolars and create space for tooth movement.
Orthodontic treatment proceeded relatively smoothly. The patient was instructed to change aligners every two weeks, maintaining meticulous oral hygiene throughout. Engagers were placed by etching, isolating and bonding the relevant teeth, placing engagers as per the ClearCorrect® template with a translucent flowable composite. This was performed at aligner 3, as is my usual protocol, allowing the patient to wear the first two aligners attachment-free. This helps them to acclimatise to wearing the aligners and, importantly, to learn how to remove and insert them before engagers make the aligners more retentive. In my experience, if the patient is accustomed to wearing aligners without attachments for the initial 4 weeks, the slight increase in retentiveness caused by the engagers is unlikely to present any difficulty for the patient.
IPR was performed gradually throughout treatment, mostly focused in the canine and premolar region to start with. Rotation of the premolars was intentionally not started until the engagers were placed to ensure teeth were sufficiently retentive and prepared for more complex movement.
Implant placement
A CBCT scan was taken of the planned site for the implant, which was used alongside Straumann® CoDiagnostiX™ software to design a surgical stent to ensure accuracy of implant positioning. The stent was printed locally in the practice using the Straumann® CARES P series 3D printer. This technology was also used to print an STL file of the upper arch model as a means of verifying fit prior to implant placement.
During the surgical appointment, the stent was fitted in the mouth and a Straumann® bone level 4.1x 12mm implant placed in the planned position using a guided approach. Space was insufficient for two implants, though it would have allowed for a narrow implant to be placed without grafting. However, this would have caused a soft tissue deficit and reduced aesthetics, which would have likely worsened over time and was not acceptable for a patient in their 20s. A narrow implant would have also given a thinner prosthetic connection that could have compromised strength of the 2-unit bridge planned in this area. As a result, a regular neck implant was chosen with a plan for guided bone regeneration (GBR) to add to the labial surface of the implant and around the pontic site to improve aesthetics. Height of the ridge allowed for a relatively long implant (12mm) which was chosen due to the occlusal loading planned for a 2 unit-bridge.
GBR was performed labially to the UL1 and UL2 pontic site, using autogenous bone chips harvested from the osteotomy. A slow drilling protocol was utilised with twist drills and a low speed (below 50 rpm) to ensure no irrigation and maximise harvesting of autogenous bone. This was mixed 50:50 with Straumann® cerabone® granulate and covered with a Jason® membrane. The site was closed and sutured without tension in the soft tissue using 5.0 prolene monofilament sutures to allow for good healing with minimal inflammation. These were removed 2 weeks post-surgery.
Restorative treatment
The patient returned to the practice two weeks later for review of healing, and then again at 10 weeks post placement – no complications were detected. At 10 weeks, the gingivae were pink and healthy, with sufficient keratinised tissue around the implant site. The implant was exposed to begin the restoration stage of treatment.
The patient reached the end of the 20-aligner sequence around the same time, so intraoral scans were taken to record progress. Revision ClearCorrect® aligners were required to close the anterior spacing and finalise alignment, so these scans were uploaded to the portal for fabrication of the finishing aligners by the ClearCorrect® technical team. The impressions were also used for the manufacture of a laboratory-made provisional bridge, which we would use to develop a customised emergence profile and soft tissue contouring around the pontic. The same aligners would also be used for tooth whitening treatment prior to the definitive bridge being made.
After placement of the provisional bridge, the patient used a further eight ClearCorrect® aligners in the lower arch for final revisions. This was followed by tooth whitening using Philips Zoom whitening gel – night-white, 16 % carbamide peroxide – for 2 weeks at night, and then composite bonding was placed on the worn edge of the UR2 to improve the shape as well as the colour of the teeth. The provisional bridge was removed twice for additional composite to be added so the emergence profile could be developed over time.
The temporary bridge was scanned using the Trios intraoral scanner and sent to the laboratory to replicate the emergence profile with a definitive bridge. The laboratory designed a supporting framework with screw retention to the implant accessed palatally. The Createch Additive framework involves SLM (selective laser melting) technology to build the cobalt chrome framework in increments together with milling around critical areas such as implant connection seat and screw hole. This is layered with porcelain by the dental technician.
Case reflection
Ultimately, I feel we were able to achieve a good quality dental implant-retained restoration of the UL1 and UL2. A digital workflow allowed for simultaneous implant planning and provision with orthodontic treatment, which could be completed during soft and hard tissue healing times following extraction and dental implant placement. A digital workflow in this case allowed me to achieve good 3D positioning of my implant, plan for grafting requirements and also treat crowding of the opposing arch to facilitate the final prosthesis.
If considering cases like this, case selection is critical. In this situation, I was fortunate to have a patient who was well motivated, willing to comply with aligner wear, maintain good oral hygiene, was fit and healthy and a non-smoker. With all of these factors in my favour, the chances of a good outcome improve significantly.
I firmly believe that the amount of information used for planning purposes is crucial. In this case, merging CBCT and intraoral scan data to give a 3D image of the patient’s soft and hard tissues and using with the ClearCorrect® Clearpilot Software to plan the orthodontic treatment helped me to visualise the treatment and end goal. I believe the time spent analysing this data before treatment is paid back many times over during the process.
Images

Figure 1 – Pre op anterior

Figure 2 – Pre op lateral

Figure 3 – Pre op upper occlusal

Figure 4 – Pre op lower occlusal

Figure 5a – CoDaiagnostiX planning

Figure 5b – CoDaiagnostiX planning

Figure 5c – CoDaiagnostiX planning

Figure 5d – CoDaiagnostiX planning

Figure 5e – CoDaiagnostiX planning

Figure 6 – Surgical stent tried on model

Figure 7 – Surgical stent used to place implant

Figure 8 – Flap raised

Figure 9 – Implant placed

Figure 10 – Sutures removed 2 week spost-op

Figure 11 – Implant uncovered

Figure 12 – Radiograph at time of placement

Figure 13 – Lower occlusal prio to refining alignment

Figure 14 – Provisional bridge

Figure 15 – Radiograph at loading of provisional bridge

Figure 16 – Definitive bridge try in

Figure 17 – Definitive bridge fitted

Figure 18 – Radiograph at time of definitive bridge placement

Figure 19 – Post op

Figure 20 – Post alignment lower occlusal
For more information on ClearCorrect®, visit: www.clearcorrect-uk.com
Author bio:
Since Qualifying in 2014 Dr Mark Burton has since trained in a number of fixed and removable orthodontic systems and has been a Key Opinion Leader for ClearCorrect® since 2019. Mark has also completed the ITI Foundation in Implant dentistry and Bristol MSc in Dental Implantology and regularly combines orthodontic and implant treatments to care for the partially edentulous patient.