Correcting a single midline diastema – an ethical treatment plan; a stunning aesthetic result
Featured Products Promotional FeaturesPosted by: Dental Design 17th June 2020
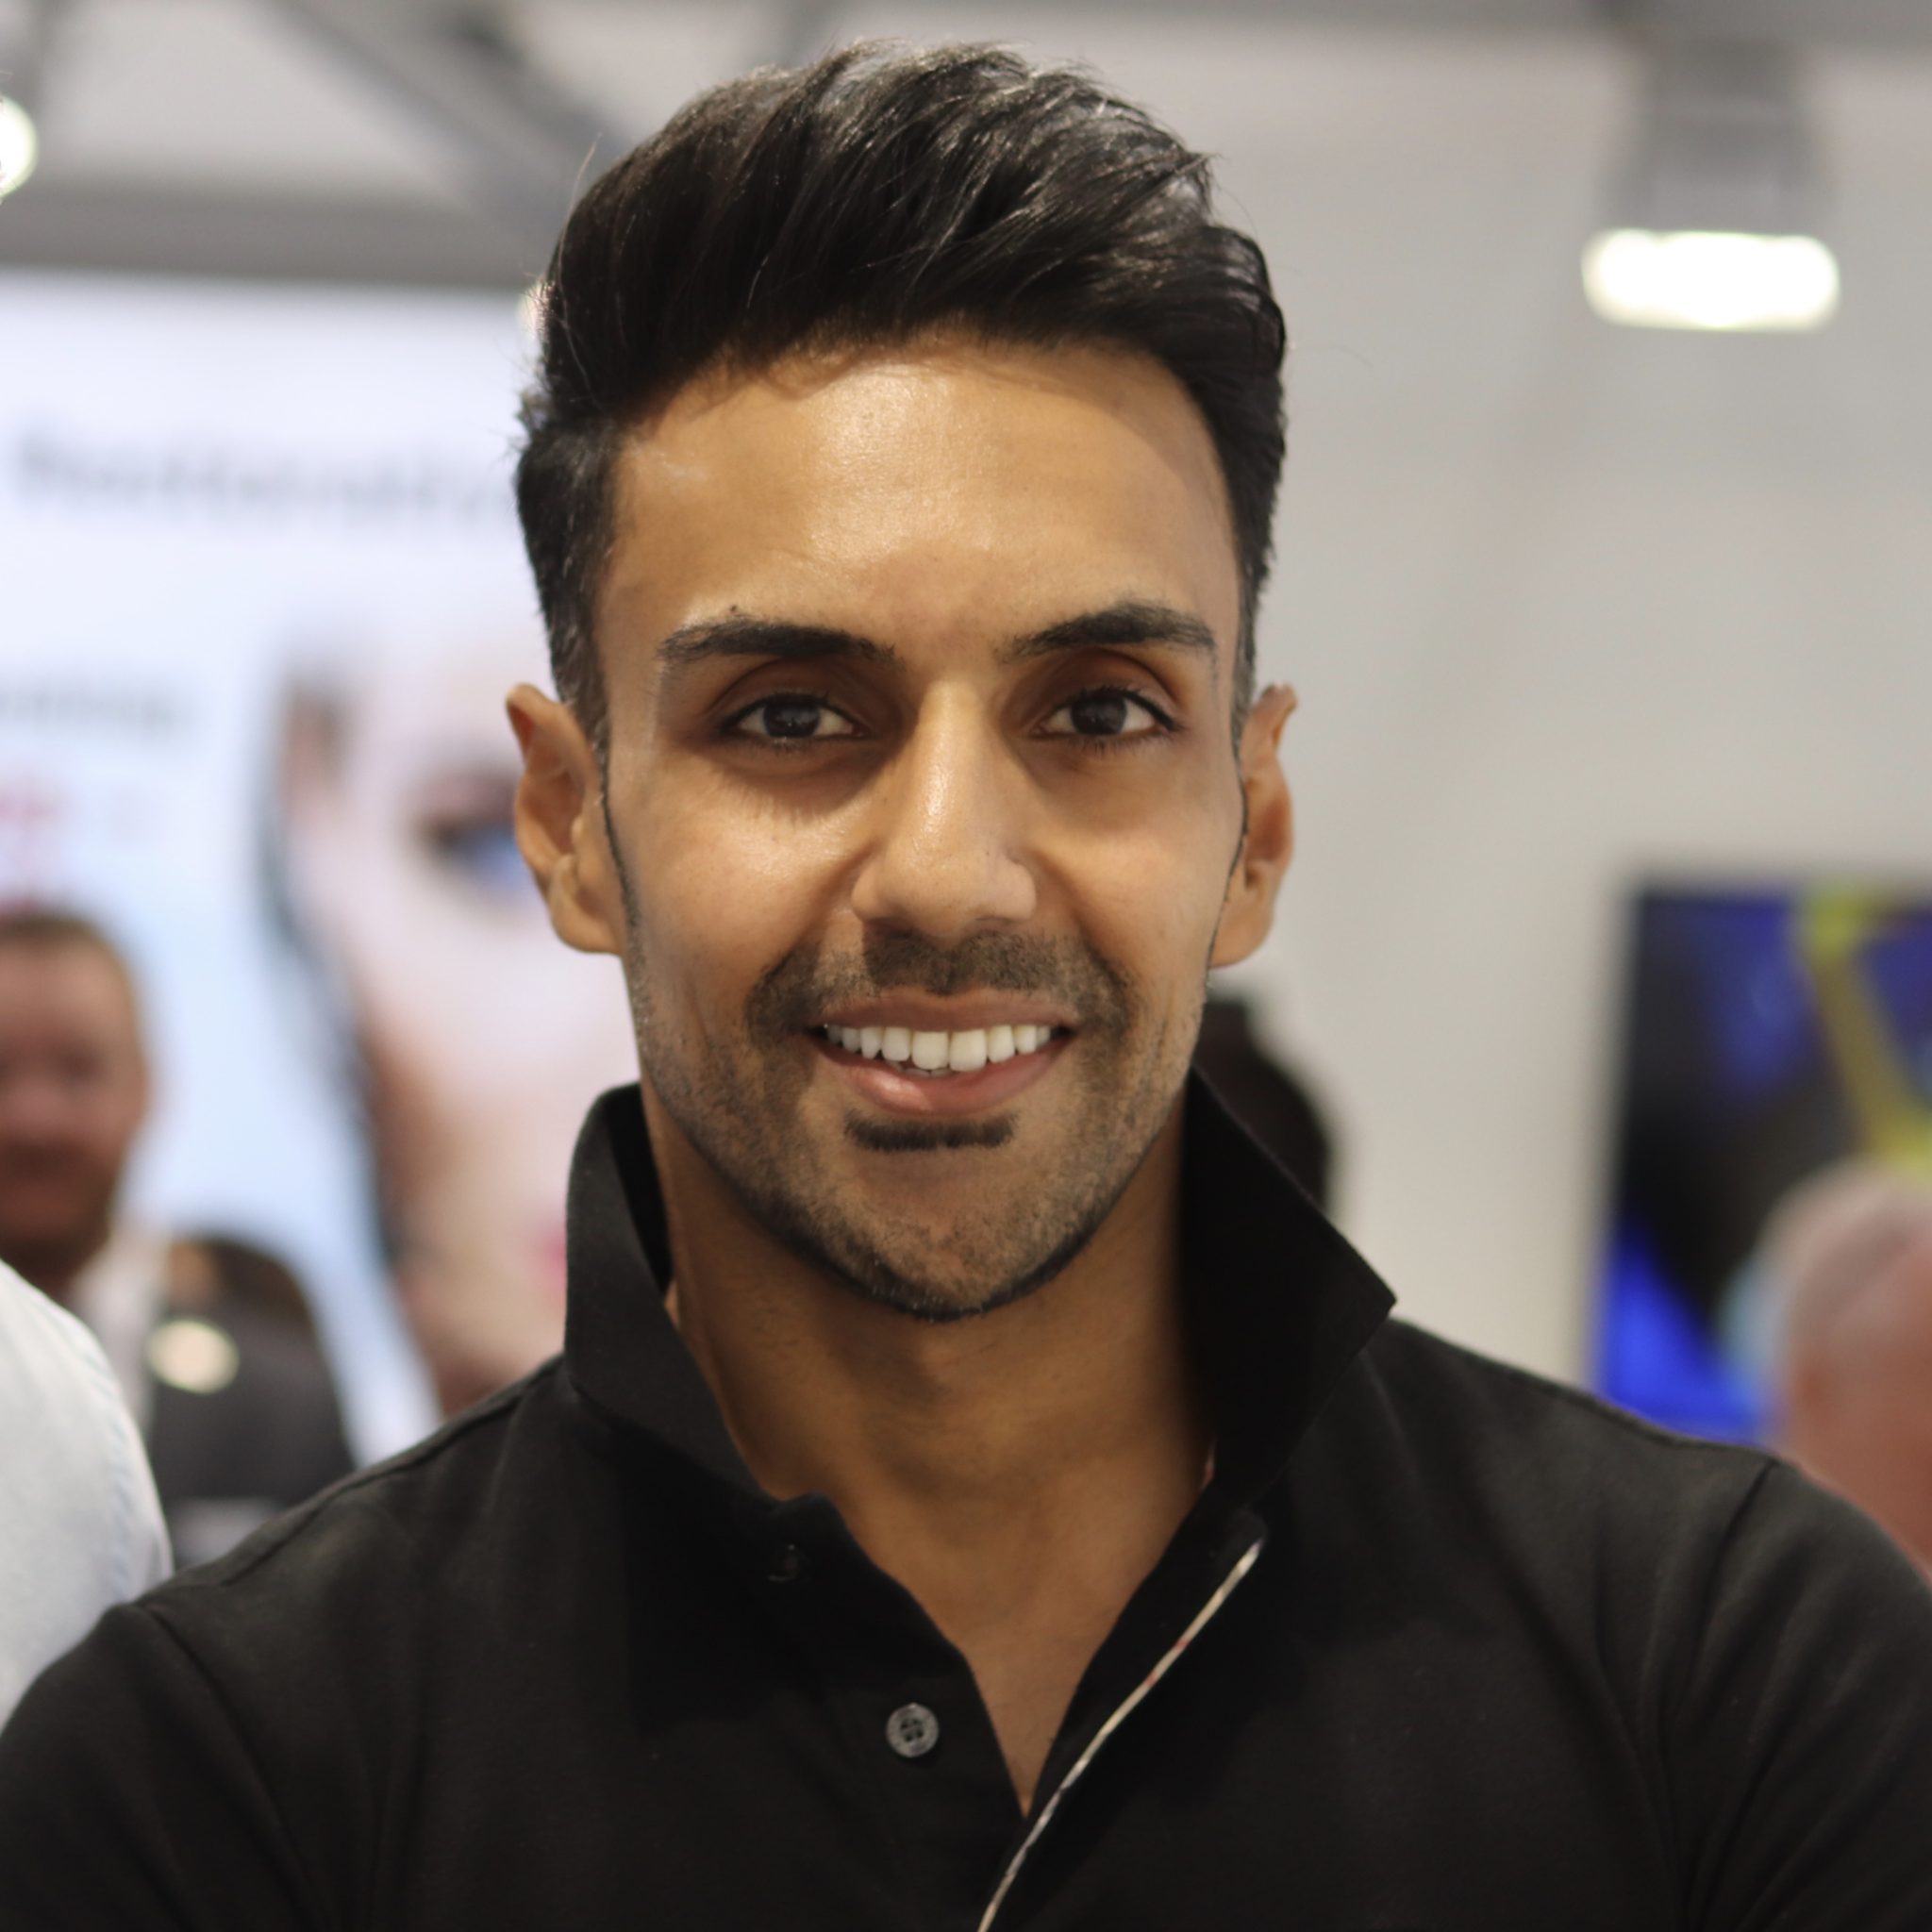
Minesh Patel graduated with honours from Barts and the London School of Dentistry in 2009. He then went on to graduate with a Master’s degree in Aesthetic Dentistry at King’s College London in 2013 while simultaneously completing a one-year surgical and prosthetic implantology programme based in Cambridge. He currently works in a fully private practice in Thames Ditton, Surrey and spends time teaching on various postgraduate programmes at King’s College London as well as lecturing around the country on clinical dental photography. Minesh also runs his own photography courses,
to help practitioners both take and use photographs to improve their clinical outcomes, www.mineshpateldentistry.com.
Initial presentation
Mr MB is a long-standing patient with excellent oral health and a proven history of six-monthly examination and hygiene appointments with low caries, periodontal and tooth wear risk. After engaging in discussion regarding the patient’s tooth position, he was delighted to hear that modern dentistry would allow closure of the gap between his front teeth (see Fig 1), with no tooth damage and without the need for orthodontics, which for him was too involved and time-consuming. After discussing alternative options, including ceramic veneers, composite bonding was the obvious and most ethical option for this patient. When treating anterior teeth with any form of restorative dentistry, it is important to discuss tooth whitening to ensure the patient is aware that restorative materials, once selected, will match the existing tooth shade and cannot be altered in the future.
Active concern(s)/problem list
Long standing midline diastema, with scope for visual aesthetic improvement (see Fig 2).

Fig.1

Fig.2
Treatment objective(s)
Minimally invasive aesthetic enhancement using home tooth whitening and correction
of a single midline diastema using direct composite bonding with COLTENE BRILLIANT EverGlow™.
Treatment plan
- Four weeks of home tooth whitening using custom trays:
- Two weeks 10% carbamide peroxide overnight use.
- Two weeks 16% carbamide peroxide overnight use.
- One week’s use of 6% hydrogen peroxide, for optional one-hour ‘boosts’.
- Two-week review to allow for rebound and composite try-in.
- Freehand partial coverage, bonding UR1 molar and UL1 molar.
- Replacement upper ‘top up’ whitening tray.
Treatment protocol
In order to maximise the aesthetic gain planned with composite bonding, it was agreed to complete a period of home tooth whitening to lift the base shade of all teeth which was currently close to an A2 (see Fig 3). Upper and lower good-quality alginates were taken and a period of four weeks’ home tooth whitening was performed, according to the aforementioned protocol. It is important to allow two weeks of no whitening, in order for the shade to settle (rebound) and allow bond strengths to return to normal. At the review appointment, the patient and I were satisfied with the whitening progress. Shade BL was selected as the new and improved tooth colour, which was verified and accepted by the patient. A quick unbounded composite try-in was performed, using COLTENE BRILLIANT EverGlow™ shade BL, while the teeth were at normal hydration to confirm material selection.
On the day of treatment, complete anterior isolation was then performed using a heavy gauge latex rubber dam, with W2A clamps attached to the premolars to secure the dam. Floss ligatures were placed and tightened around both central incisors to further retract the dam into the gingival sulcus with the benefit of suppressing the papilla, which is extremely useful when closing diasetmas with direct composite bonding (see Fig 4).

Fig.3

Fig. 4
The teeth were cleaned with an Enhance polishing cone, followed by air abrasion using a Rønvig sandblaster with 30micron Al2O3 particles. The teeth were then etched, followed by thorough rinsing, drying and application of a bonding agent that was carefully air dispersed.
A pre-rolled composite increment was first applied to the UR1 and adapted freehand from all directions to achieve the ideal initial starting proportions. Care was taken to adapt the gingival portion to avoid gross overhangs. Good isolation makes this much easier (see Fig 5). This increment was then cured and refined using interproximal strips to remove gingival excess (see Fig 6) and a Sof-Lex disc to gently contour the contact point to a smooth convex profile (see Fig 7). PTFE tape was then placed over the UR1 and the process repeated on the UL1. For optimal adaption of composite placement and smooth transitional junctions from composite to tooth, a GC sculpting brush (see Fig 8) and Optrasculpt (see Fig 9) modeling instruments were employed to eliminate instrument indentations from being introduced into the composite increments (see Fig 10). Following final curing, the palatal aspect was re-checked (see Fig 11) and a small overhang removed by using an ultra-thin metal polishing strip passed under the interproximal contact (see Fig 12). Once again, effective isolation makes this possible and is almost mandatory when attempting such cases freehand.

Fig. 5

Fig. 6

Fig. 7

Fig. 8

Fig. 9

Fig. 10

Fig. 11

Fig. 12
Following rubber dam removal, primary form was lightly adjusted using a coarse Sof-Lex disc. An enhance polishing cone was used to reductively polish the marginal junctions. A medium grit flame bur was used in an electric handpiece in a light feathering motion to introduce tertiary anatomy into the restorations (see Fig 13). The two-step DIATECH polishing wheels (from COLTENE) (see Fig 14) were then used on all surfaces of the restorations until a final high lustre was established (see Fig 15). Occlusal checks were performed as standard, to ensure the new restorations conformed to the existing occlusion. Close palatal inspection was performed under high magnification to ensure a smooth, ledge-free transition of restorative material towards the gingiva in order to respect the soft tissues (see Fig 16).

Fig. 13
Fig. 14

Fig. 15
Final appraisal
Following two-and-a-half weeks of healing, the patient was reviewed and the papilla had re-established to confirm a hygienic result that blended well to the existing anatomy and soft tissues. The patient has since been seen for a 1-year recall visit where the restorations have demonstrated an excellent retention of polish (Figure 17) and an extremely healthy soft tissue outcome (Figure 18-19).

Fig. 16

Fig. 17

Fig.18
My top tips:
- Use a mock-up! Place composite without etch and bond and shape roughly to determine your final outcome and ensure it fits within the natural envelope of function. Check excursions and guidance at this stage. This is increasingly important when lengthening teeth or broadening and elongating lateral incisors which may incur a lateral interference in some cases, causing early failure. A mock-up also allows you to assess and control patient expectations and is an excellent tool to help choose your final restorative method, shade and aid in informed consent.
- Isolate like a pro! For diastema closures, use a medium or heavy dam secured with self-tightening floss ligatures. This will ensure the dam is retracted to the soft tissue junction and suppress the papilla, which is extremely useful for median diastemas. Expect the papilla to rebound within a few weeks.
- Sculpt like an artist! Use the correct instruments for your labial increments. The final appearance and polish are determined earlier on during placement and a good polish is an outcome of great finishing. Use a broad, softer instrument to adapt your final labial increment to the tooth to ensure seamless margination and a final layer free of instrument indentations and irregularities.
- Use the light! Following initial placement and gross finishing, take a photo of your direct anterior restorations. Schedule a second appointment for final refinements and high-gloss polishing two weeks later. Assess this photo in the meantime and the way the light hits the line angles of your restorations, as well as the axial inclination of your restorations. Aim to see even, straight line light reflections on the mesial and distal line angles, as well as an axial inclination pointing down and towards the naval. Plan your refinements to achieve these optical properties at the next visit. A twin flash system is recommended for anterior work.
To find out more visit www.coltene.com,
email info.uk@coltene.com or call 01444 235486