An outside-the-box trans-sinus implant case
Featured Products Promotional FeaturesPosted by: Dental Design 11th July 2022
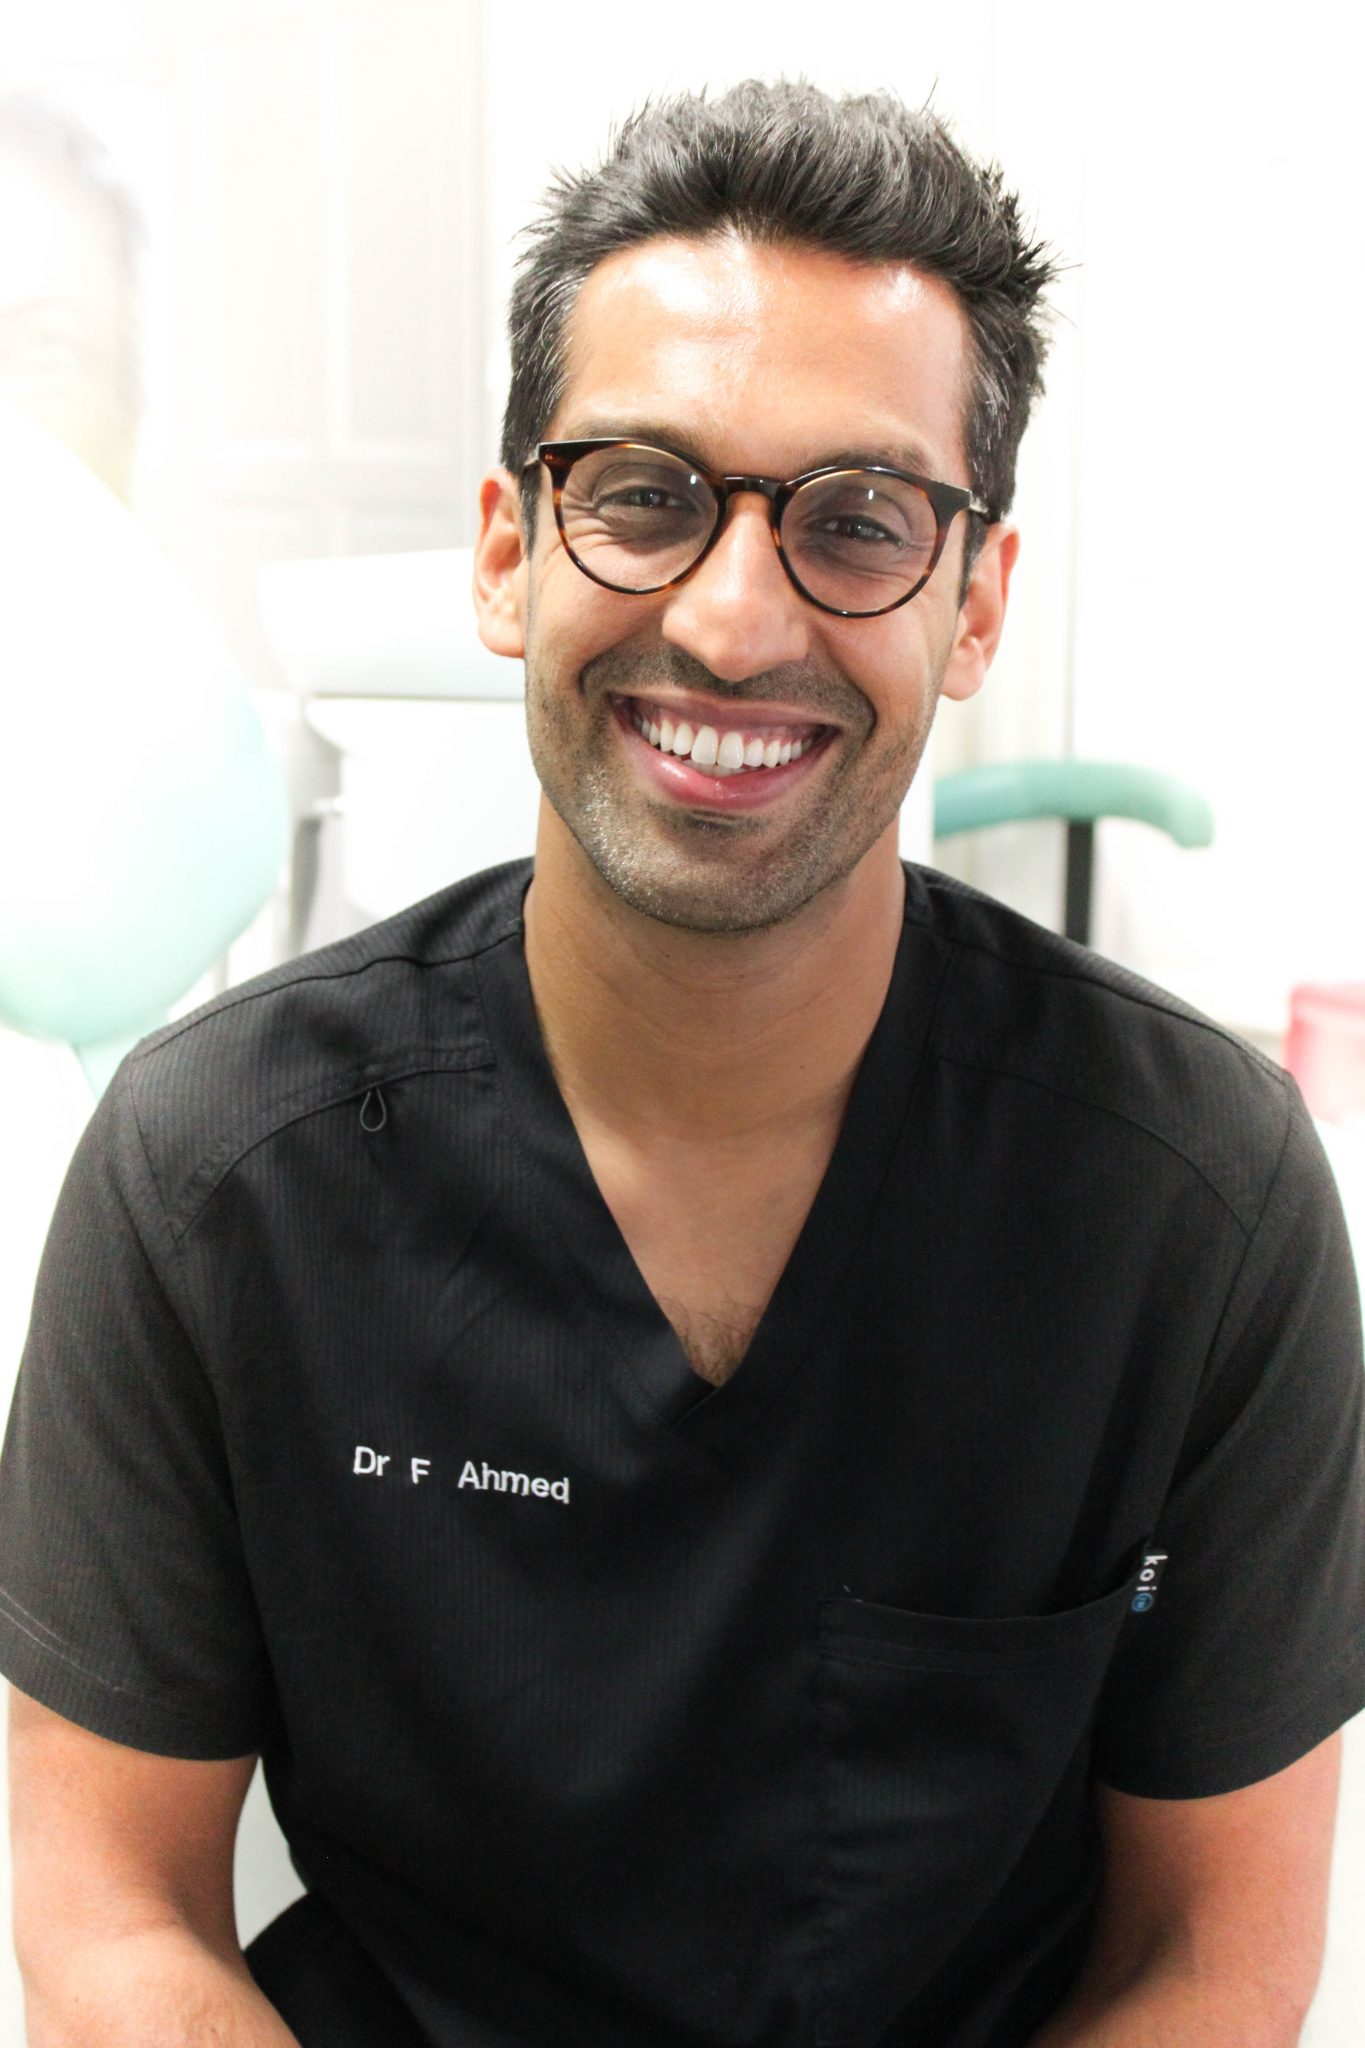
Dr Ferhan Ahmed presents an advanced trans-sinus implant case that he recently mentored a delegate on his training programme through and which he feels offers insight for colleagues interested in taking on similar cases.
A female patient in her mid 50s presented to the practice. She was generally fit and healthy, was on no medication and had a clear medical history.
An OPT was taken to check for pathologies. A hopeless prognosis was confirmed for several teeth – many of which were mobile and showed poor aesthetics – indicating extraction of the remaining dentition and full arch rehabilitation. The patient was determined to find a permanent solution, having undergone significant restorative procedures in the preceding years. She worked in a gin company and so not only was she public-facing every day, but appearance was also an important part of her role.
Treatment planning
As part of the treatment planning process, the patient went through a comprehensive implant examination and assessment (figures 1-4) which involves evaluation of the medical health, smile line and gingival biotype, with radiographic images and photographs taken. The soft tissue was relatively healthy, though some gingival recession was noted so oral hygiene advice and support was provided. The teeth were missing in the UR 3, 4, 5 and 7 regions and amalgam fillings were present in the UR5 and both remaining upper first molars.
The OPT had revealed limited bone in zone 2 and 3 (figure 5), which meant that the conventional technique for full mouth rehabilitation on four implants was not suitable. Instead, outside-the-box thinking was required to find an appropriate solution. We decided that extra-maxillary implants were indicated with a trans-sinus implant on the right hands side.
The 3D imaging and intraoral scanning were used to plan both the surgical and restorative phases of treatment, including optimal implant positioning and angulation, and the design of the prosthesis. The emphasis was on on-going oral hygiene and the importance of long-term maintenance to ensure the patient understood her role in maximising longevity of the treatment.
Surgical treatment
As already established, this was a particularly advanced case that required a unique approach. Given that it was also a mentored case that I was supporting a colleague through as part of my training programme, the complexity of the anatomy called for a midline relieving incision to be made first so we could use a staged approach (figure 6). This meant starting on the right and moving to the left, focusing on one side at a time.
A standard full thickness flap with a midline relieving incision was therefore raised to expose the alveolar ridge (figure 6 & 9). A maxillary lateral window technique was used to access the sinus floor and enable visualisation of the passing implant when placed (figures 7).
Further to our assessment and treatment planning, a Neodent® Helix GM Long implant (20mm) was placed using a trans-sinus approach in order to engage with the high-quality bone at the nasal floor. The two Neodent® Helix Grand Morse (GM) 4 x 13mm implants were then placed in the anterior section following conventional planning and insertion techniques. Finally, the upper left implant was a 4 x 16mm Neodent® Helix GM (figure 9).
The right maxillary sinus was successfully elevated and the space was filled with the bone particulate and covered with a membrane, which was stabilised with fixation screws (figure 10). And, the remaining extraction sockets were also filled with bone substitute material (figure 10). A good AP spread was achieved across the ridge, with adequate buccal bone volume. At this point we could start thinking about the wound closure and soft tissue manipulation to deliver a good aesthetic outcome and long-term success of the treatment (figure 11). Tension free closure of the flap, ensuring a good band of keratinised tissue around each implant was performed (figure 12).
A temporary prosthesis was immediately loaded and checked for occlusion and comfort (figure 13). The final post-operative OPT showed a good implant position and confirmed that all multi-unit abutments and temporary prostheses were seated well (figure 14). Strict post-operative care instructions were given and patient went away for healing (figure 14). The patient will return to see her dentist for a review in a couple of weeks and in approximately three to four months the process for the design and manufacture of the final prosthesis will commence.
Discussion
This case is a prime example of when we have to move beyond conventional techniques to find a solution that works for our patient. The adoption and adaptation of advanced concepts, such as the extra-maxillary implant approach, can provide a lifeline to patients who might otherwise not be suitable for fixed rehabilitative solutions.
The important of assessment and treatment planning cannot be overestimated in these types of cases. Without adequate preparation the clinician can struggle on the day of surgery to deliver an effective solution, which can significantly compromise results for the patient in the long-term. It is also always essential to ensure the coming together of the right patient, the right treatment and the right surgeon. Where an advanced case is outside the clinical skill and/or confidence of the clinician, referral to another or seeking the support of a mentor is imperative. This ensures safe and ethical treatment for the patient as well as protecting the clinician from the potential litigation should something be unexpected or go wrong.
Images

figure 1 Preoperative smile shot

figure 2 Preoperative side view of the smile

figure 3 Preoperative side view of the smile

figure 4 Preoperative occlusal view

figure 5 Preoperative OPT

figure 6 Standard full thickness flap with midline relieving incision

figure 7 Maxillary lateral window technique using Dask drill . jpeg

figure 8 Full upper clearance and debridment of the sockets

figure 9 Following the alveoplasty procedure four fixtures were placed in the anterior maxilla for a good AP spread

figure 10 Buccal and socket graft

figure 11 Soft tissue manipulation

figure 12 Wound closure

figure 13 Temporary prosthesis immediately loaded

figure 14 Postoperative OPT
For more information, please visit https: www.neodent-uk.co/efficiency

About the author:
Dr Ferhan Ahmed is dual-qualified in dentistry and medicine. His current practice is limited to dental implants and surgical dentistry. He qualified from the University of Glasgow (UK) with a BDS in 2005 and from the University of Liverpool (UK) with an MBChB in 2012. Since completion of vocational training, he has exclusively focused training and research in the area of oral and maxillofacial surgery. Dr Ahmed is involved in teaching and mentoring within the field of dental implants and surgical dentistry. His practice in dental implants involves conventional implants, complex bone grafting and extra maxillary implants such as pterygoids and zygomatics